Data Science and Computational Reproducibility: Using asdf, poetry, and renv to make your local Python and R environments easy(er) to manage
The Problem
In a previous blog post, we discussed the benefits of using renv, Docker, and GitHub Actions to streamline computational reproducibility workflows in R. However, this workflow is a bit overkill at times. For example, if I start a new predictive modeling project, I may want to quickly explore some fancy new models that just got released in some new Python/R library. This package itself may require different dependencies than those of my prior or existing projects–I might even need to update my Python/R version itself.
Of course, anyone who has updated their Python or R versions mid-project knows just how much chaos will ensue…
Caption: When I–a mediocre software developer–update R (source)
This level of dependency hell can only really be resolved in two different ways:
- Replace existing system
Python/Rinstallations and associated libraries with versions that are consistent with those required by the fancy new modeling library, or - Install parallel versions of
Python/Ralong with respective libraries, making sure to use the right version in the right context.
Both of these approaches are not ideal–replacing your system installation for each new project is bound to only move the issue to another project (or a future you!). Alternatively, organizing parallel versions of Python and R sounds like a feat that can only be accomplished by an experienced software engineer–everyone knows that even getting a single installation right can be a headache. How does a mere programming mortal (such as myself) get multiple parallel versions to work?
The Solution

Fortunately, we do not need to train in the art of software development to get multiple versions working in parallel! Instead, we can take our pick of a suite of virtual environment managers that allow for us to easily install parallel versions of a programming language on our machine and run the correct one in the correct context. In this post, I will cover asdf, as it was designed to support installing and managing any programming language with the help of a plug-in (more on this later).
Then, we will walk through how to use poetry and renv within Python and R, respectively, to install and manage the language-specific libraries that our project depends on. Together, this unique combination of asdf, poetry, and renv will allow for us to seamlessly move from one complicated project to the next (or between projects) without having to worry about the issues that arise from either updating your system Python/R installation or updating your libraries within a given Python/R project.
Using asdf to Manage Python and R Versions
What exactly is asdf?
Put simply, asdf is a tool that allows you to install and manage parallel versions of any programming language you like. This means that we can use the same tool to manage both Python and R, which is particularly helpful in cases where we have complex projects that rely on both. Note that asdf does not replace language-specific library managers (e.g., poetry for Python or renv for R). Instead, when you open a project, asdf first boots up the right version of Python/R, and then your language-specific library manager boots up the appropriate versions of the libraries used within your project.
Installing asdf
The asdf web page has instructions for how to install asdf in many different ways. Given that I have a macbook, I like to use homebrew to install most of my software. So, I just booted up the terminal and used the following commands to install asdf:
brew install asdf
echo -e "\n. $(brew --prefix asdf)/libexec/asdf.sh" >> ~/.zprofile
The first line uses homebrew to download and install asdf, and the second line configures asdf so that we can access it through our terminal.
Installing asdf plug-ins for Python and R
Once we have asdf installed, we need to install a plug-in for each programming language that we want to manage. These plug-ins are what asdf uses to find and install versions of the given programming language. Plug-ins for Python and R can be found here and here, respectively.
From the links above, the Python plug-in can be installed as follows:
asdf plugin-add pythonThe R plug-in was slightly more involved. I first used homebrew to install some dependencies that the plug-in itself requires:
brew install gcc xz libxt cairo pcre2Then, I installed the plug-in itself using the following command:
asdf plugin-add R https://github.com/asdf-community/asdf-r.gitAnd there we have it! We now have plug-ins installed that we can use to install parallel versions of both Python and R.
Using plug-ins
With both plug-ins installed, we are now equipped to install parallel versions of both Python and R! For example, say I want to have a Python installation for both version 3.8.10 and 3.9.1–a common situation if we just finished a project and want to use the latest version for projects moving forward. To install both, run:
env PYTHON_CONFIGURE_OPTS="--enable-shared" asdf install python 3.8.10
env PYTHON_CONFIGURE_OPTS="--enable-shared" asdf install python 3.9.1
The first part is necessary to create a shared library for python to store and access packages. Everything after asdf ... then specifies which python version to install. For R, the command is similar–just replace python with R and include the desired version number:
asdf install R 4.1.0
asdf install R 4.2.0
Note that I ran into the error configure: error: "liblzma library and headers are required" when trying to install R. In case you do to, the solution is described here.
Now, you have two parallel versions of both Python and R installed!
(NOTE: with an Apple Silicon mac, I get the error configure: error: Unexpected output of 'arch' on OSX if I try installing a version of Python < 3.8. I am sure there is a way around it, but I will leave that to readers who need older versions of Python. Similarly, issues can arise when trying to install certain versions of R. For example, I encounter the configure: error: bzip2 library and headers are required error when trying to install R <= 4.0.0. . The main reason that issues arise is because asdf installs directly from source. Doing so provides a lot of customization options, but can be a headache.)
Using asdf to set the right version
asdf allows you to set both global and local versions that your computer should use when booting up a particular language. The local version is what allows us to use different versions of Python/R across projects. For example, let’s create two projects and set different versions of both Python and R within each. To start, we create two different directories:
mkdir ~/project-1
mkdir ~/project-2
Next, we navigate to each directory and set the appropriate version:
cd ~/project-1
asdf local R 4.1.0
asdf local python 3.8.10
You will see that there is now a .tool-versions file in the ~/project-1 directory. If you open it, you will simply see the versions for Python and R as specified above. asdf uses this file to select which version to use when running code. To see it in action, while in ~/project-1 directory, simply boot up R as normal:
nathanielhaines@Nathaniels-MBP ~ % R

R version 4.1.0 (2021-05-18) -- "Camp Pontanezen"
Copyright (C) 2021 The R Foundation for Statistical Computing
Platform: aarch64-apple-darwin20 (64-bit)

R is free software and comes with ABSOLUTELY NO WARRANTY.
You are welcome to redistribute it under certain conditions.
Type 'license()' or 'licence()' for distribution details.

  Natural language support but running in an English locale

R is a collaborative project with many contributors.
Type 'contributors()' for more information and
'citation()' on how to cite R or R packages in publications.

Type 'demo()' for some demos, 'help()' for on-line help, or
'help.start()' for an HTML browser interface to help.
Type 'q()' to quit R.

>
Booting up Python is similar:
nathanielhaines@Nathaniels-MBP ~ % python

Python 3.8.10 (default, Sep 28 2022, 15:14:28)
[Clang 13.0.0 (clang-1300.0.29.3)] on darwin
Type "help", "copyright", "credits" or "license" for more information.

>>>
To show that it works across projects, we can set different versions in ~/project-2:
cd ~/project-2
asdf local R 4.1.1
asdf local python 3.9.1
You will see that you now get a different Python/R version when starting an instance in the directory. For example, when I boot up Python in ~/project-2, I see a different version than before:
nathanielhaines@Nathaniels-MBP ~ % python

Python 3.9.1 (default, Sep 28 2022, 15:07:37)
[Clang 13.0.0 (clang-1300.0.29.3)] on darwin
Type "help", "copyright", "credits" or "license" for more information.

>>>
This is pretty cool! Although getting the source installations working can be a headache, now we can easily use different versions of languages in our data science/analysis stack dependent on the needs of the project. However, you may be wondering–what happens if we do not set a version for a directory we are in? Well, this is where the global settings comes in. You can set the default version for a language as follows:
asdf global R 4.1.0Now, if you go the terminal and enter R in a directory without any local asdf settings, you will get the default R version 4.1.0.
Managing Python Libraries with poetry
With asdf all set up, we are finally ready to start working within our projects. Note that we set up ~/project-1 to rely on Python 3.8.10 and R 4.1.0. Let’s assume that we want to install sklearn to do some machine learning in Python. To do so, we could either:
- use traditional system installation methods such as
pip install, or - use a package manager such as
poetry
Of course, given our goal to prevent as many dependency issues as possible, we will go the package manager route.
Installing poetry
Specifically, poetry is a package manager that works similarly to renv in R. Following the installation instructions here, I was able to install it on my macbook using the following command:
curl -sSL https://install.python-poetry.org | python3 -Using poetry
Once installed, we can easily install libraries within a project in a way that does not interfere with those of other projects. Returning to our example, before we add scikit-learn to our project, we first need to initialize poetry within the project:
cd ~/project-1
poetry init
The poetry init command initiates an interactive prompt that helps you define the project (including useful things like selecting a license and writing a project description). Note that I set the Python version to ~3.8–the tilde indicates that our project use libraries that work with Python >=3.8.0 <3.9.0. Here is what walking through the prompts looks like on my end:
Once initialized, we need to tell poetry which Python version to use. Below, the poetry env use python line links poetry to the version set by asdf. Then, we use poetry add to install sklearn:
poetry env use python
poetry add sklearn
Output on my end:
Now, if we want to run Python interactively in our project, we can either boot up an interpreter using poetry shell, or we can set up our editor (e.g., jupyter notebook, VScode, etc.) to use the virtual environment located at the path printed after entering the poetry env use python command. Conversely, if we have a main.py script that we want to run, you can run it using poetry with the following syntax: poetry run python -m main.
Managing R Libraries with renv
Because I covered it in detail in a previous blog, I will not cover installation and usage information on renv here. Refer to the blog linked here for more information on installing and using renv. For completeness, I will note here that renv accomplishes the same thing that poetry does for Python, but for R instead.
Once renv is installed per the instructions linked in the blog above, we can initialize the R portion of our project by navigating to ~/project-1, booting up an R terminal, and initializing renv:
nathanielhaines@Nathaniels-MacBook-Pro ~ % cd ~/project-1
nathanielhaines@Nathaniels-MacBook-Pro project-1 % R

R version 4.1.0 (2021-05-18) -- "Camp Pontanezen"
Copyright (C) 2021 The R Foundation for Statistical Computing
Platform: aarch64-apple-darwin20 (64-bit)

R is free software and comes with ABSOLUTELY NO WARRANTY.
You are welcome to redistribute it under certain conditions.
Type 'license()' or 'licence()' for distribution details.

  Natural language support but running in an English locale

R is a collaborative project with many contributors.
Type 'contributors()' for more information and
'citation()' on how to cite R or R packages in publications.

Type 'demo()' for some demos, 'help()' for on-line help, or
'help.start()' for an HTML browser interface to help.
Type 'q()' to quit R.

> renv::init()
* Initializing project ...
* Discovering package dependencies ... Done!
* Copying packages into the cache ... Done!
The following package(s) will be updated in the lockfile:

# CRAN ===============================
- renv   [* -> 0.15.2]

* Lockfile written to '~/project-1/renv.lock'.
* Project '~/project-1' loaded. [renv 0.15.2]
* renv activated -- please restart the R session.

>
Next, we can install any R libraries that we want to use in our project. Remember that we installed sklearn in Python so that we could do some machine learning–it is only natural that we would want to plot out some performance metrics for our model. However, I prefer to use R/ggplot2 for making plots. Therefore, I will install ggplot2, reticulate (allowing us to run python code in R), and knitr (to compile an Rmarkdown notebook) so that I can take the machine learning model output from python and plot performance using R. Within the R instance started above, we can install libraries using the normal R syntax: install.packages(c("ggplot2", "reticulate", "knitr")).
Bringing it all Together!
 With everything initialized and installed to meet our needs, we are finally ready to show how powerful our setup actually is! We will tie everything together by creating an
 Rmarkdown file that uses Python to fit a machine learning model and R to plot model performance metrics–all while using version-controlled Python/R installations and associated libraries 🤓
To start, I created an Rmarkdown file (fit_python_plot_r.Rmd) with the following header and setup chunk:
---
title: "fit_python_plot_r"
author: "Nathaniel Haines"
date: "10/1/2022"
output: html_document
---
```{r setup, include=FALSE}
library(reticulate)
knitr::opts_chunk$set(echo = TRUE)
# Telling rstudio to use the virtual environment created by poetry for python
virtual_python_path <- system2("poetry", "env info -p", stdout=TRUE)
Sys.setenv(RETICULATE_PYTHON = paste0(virtual_python_path, "/bin/python3.8"))
py_discover_config()
```The setup chunk above tells R/Rstudio to use the python version and libraries associated with our poetry project created in previous steps. If we skip this step, the default is our system installation of python, which may be a different version or not have the correct libraries installed.
Next, we can create a python chunk that fits our model to some example data:
```{python}
from sklearn import linear_model, datasets
# Loading in a dataset
diabetes_X, diabetes_y = datasets.load_diabetes(return_X_y=True)
# Initializing and fitting model
model = linear_model.LinearRegression()
model.fit(diabetes_X, diabetes_y)
# Generating fitted model predictions
diabetes_y_pred = model.predict(diabetes_X)
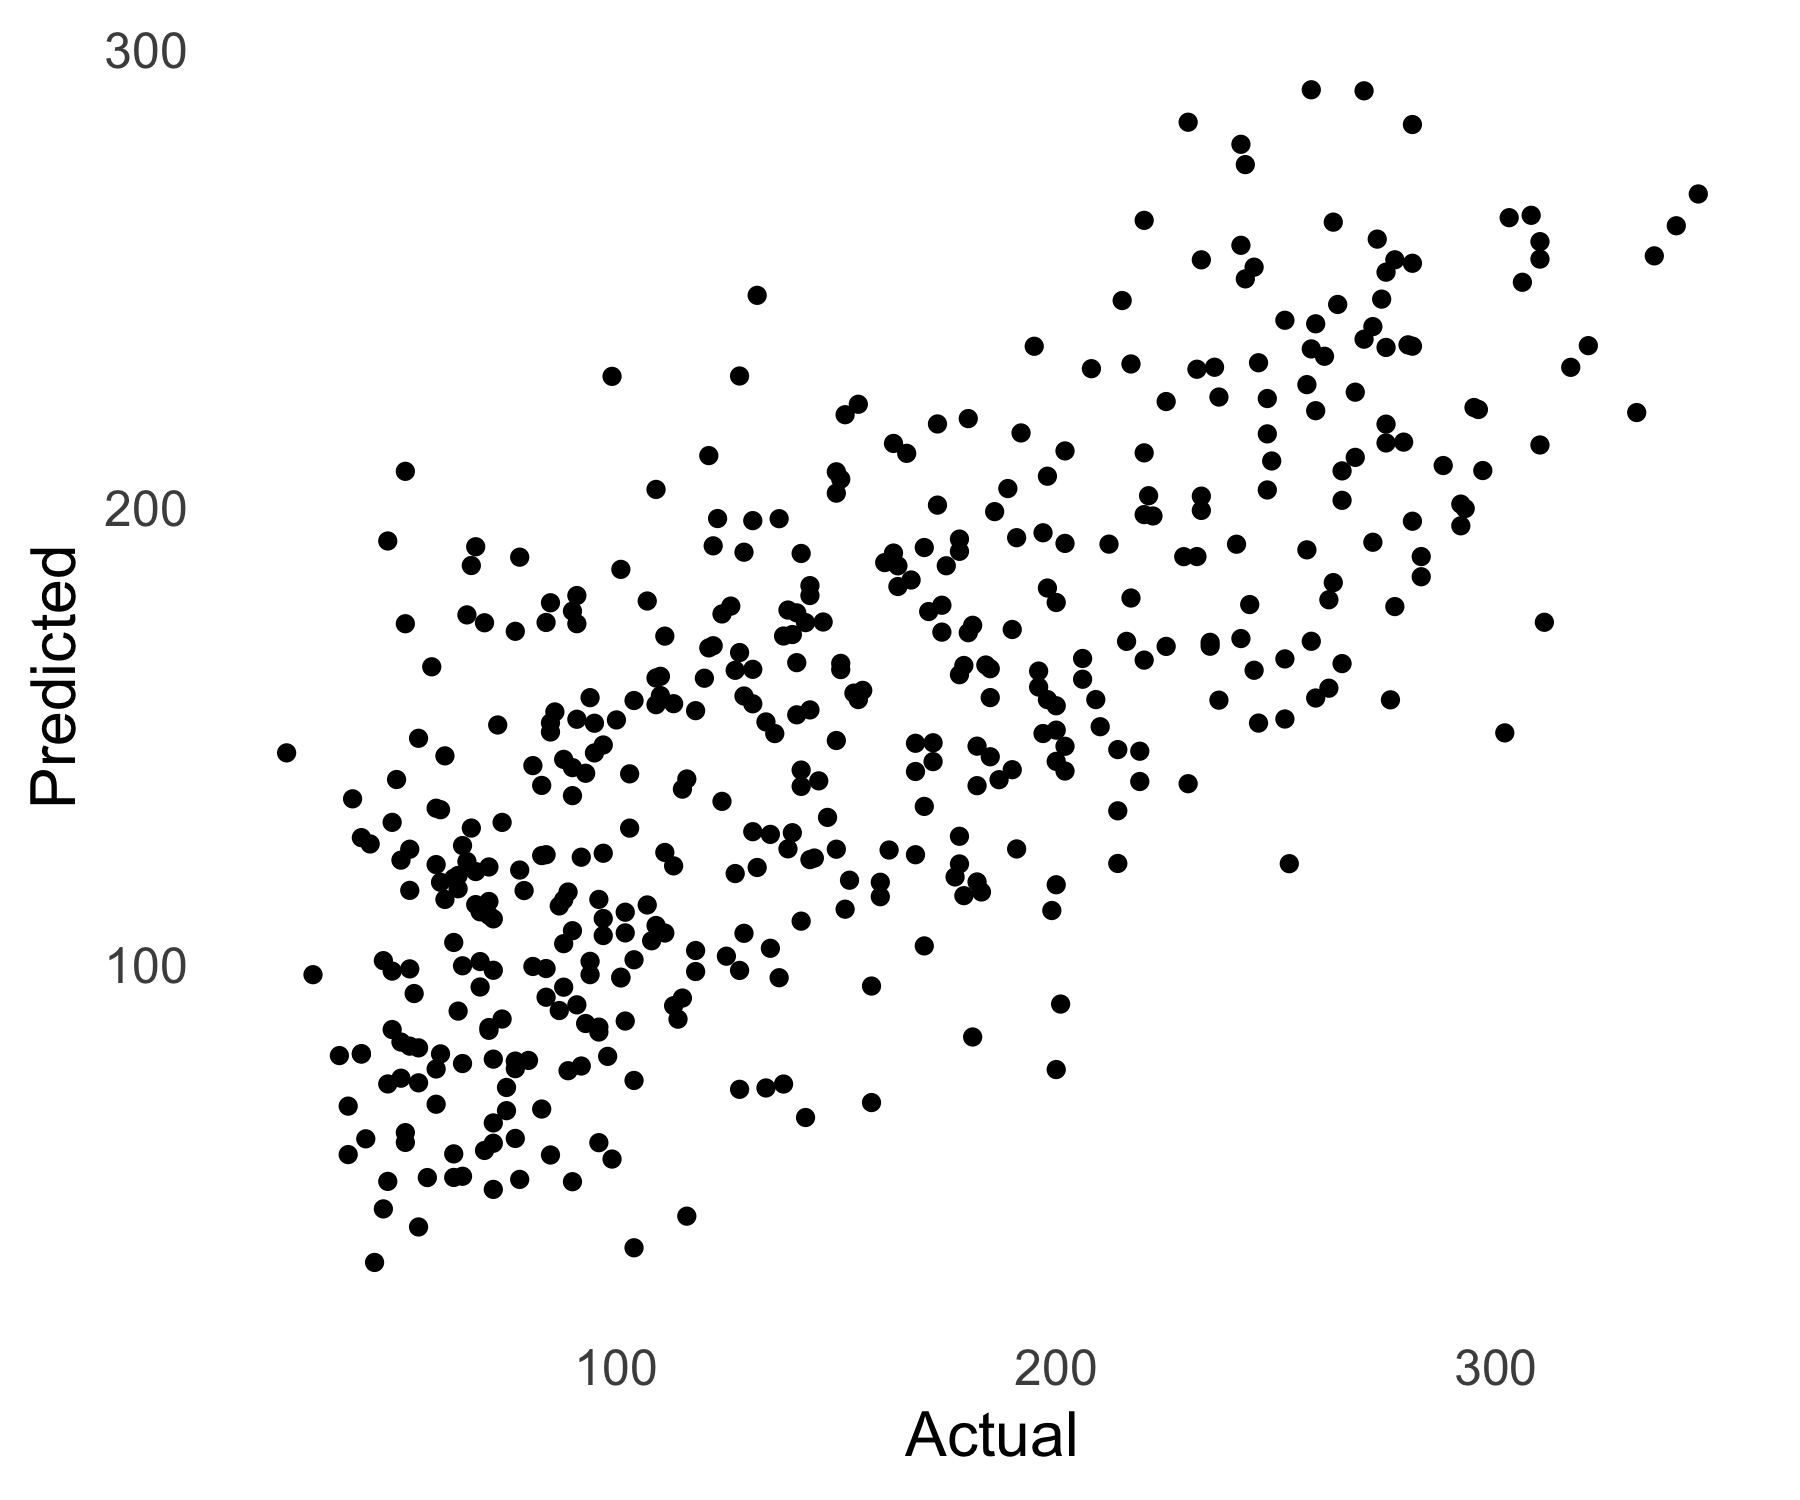
```Finally, we can access this data in an R chunk through the py variable that is implicitly created and passed along throughout the notebook:
```{r}
library(ggplot2)

# Create our plot in ggplot
my_plot <- qplot(x = py$diabetes_y, y = py$diabetes_y_pred, geom = "point") +
  xlab("Actual") +
  ylab("Predicted") +
  theme_minimal(base_size = 15) +
  theme(panel.grid = element_blank())

# save it out
ggsave("my_plot.png", my_plot, height=5, width=6, unit="in")
```
To run the notebook, I have found that it is best to use the terminal rather than Rstudio. The reason is that Rstudio does not seem to play well with the R environment installed through asdf. In fact, I have created an issue here on this topic, so feel free to contribute if you find a solution!
Running the notebook in the terminal is simple–just knit the notebook as follows:
Rscript -e "knitr::knit('project-1/fit_python_plot_r.Rmd')"
And just like that, we have a plot of our model performance! Mine is pictured below:
Wrap-up
In this blog, we walked through how to set up your local development environment to use asdf to manage versions of python and R across projects. We also learned how to use poetry and renv to manage libraries within python and R. This set-up allows for you to keep the dependencies of your various research or data science projects separate, avoiding the age-old software problem of dependency hell.
Nathaniel Haines
Senior Manager, Data Science
An academic Bayesian who is currently exploring the high dimensional posterior distribution of life